Last updated November 22, 2026
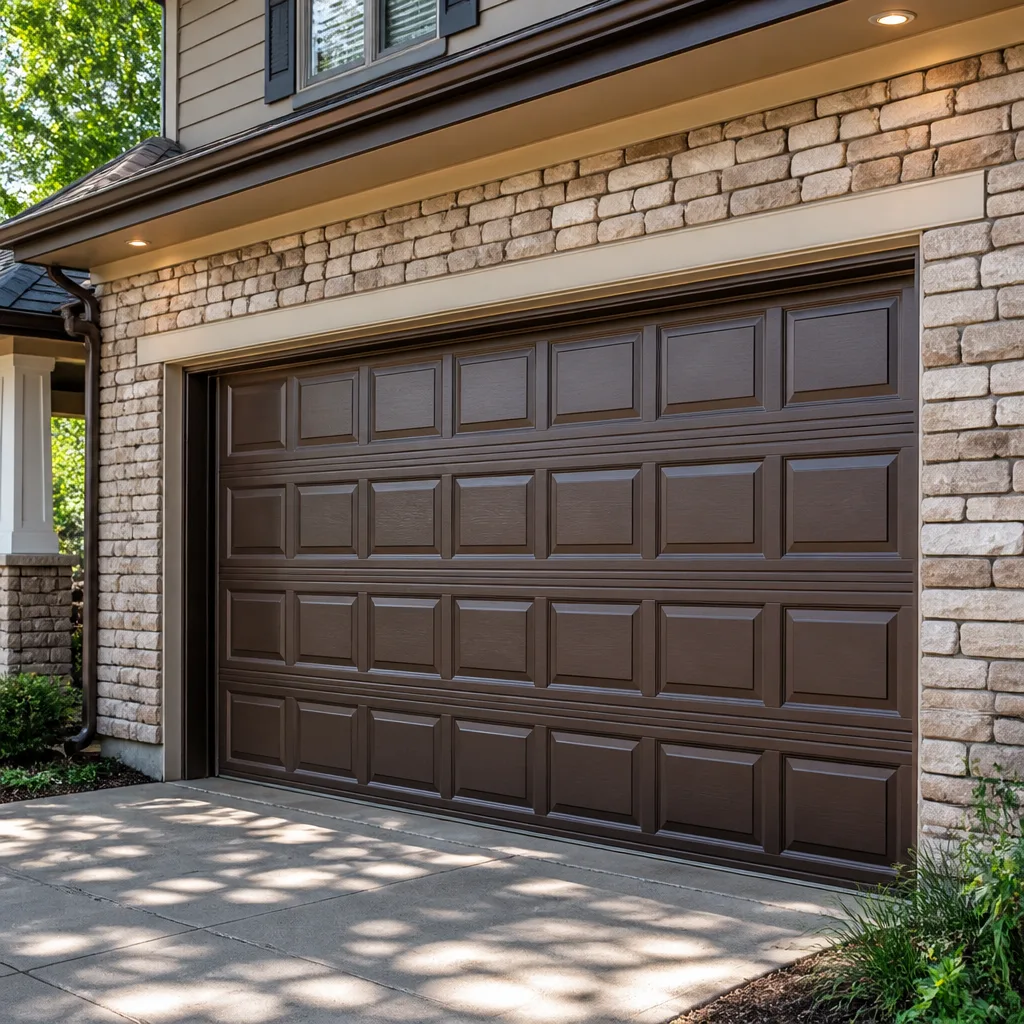 Raised-panel steel
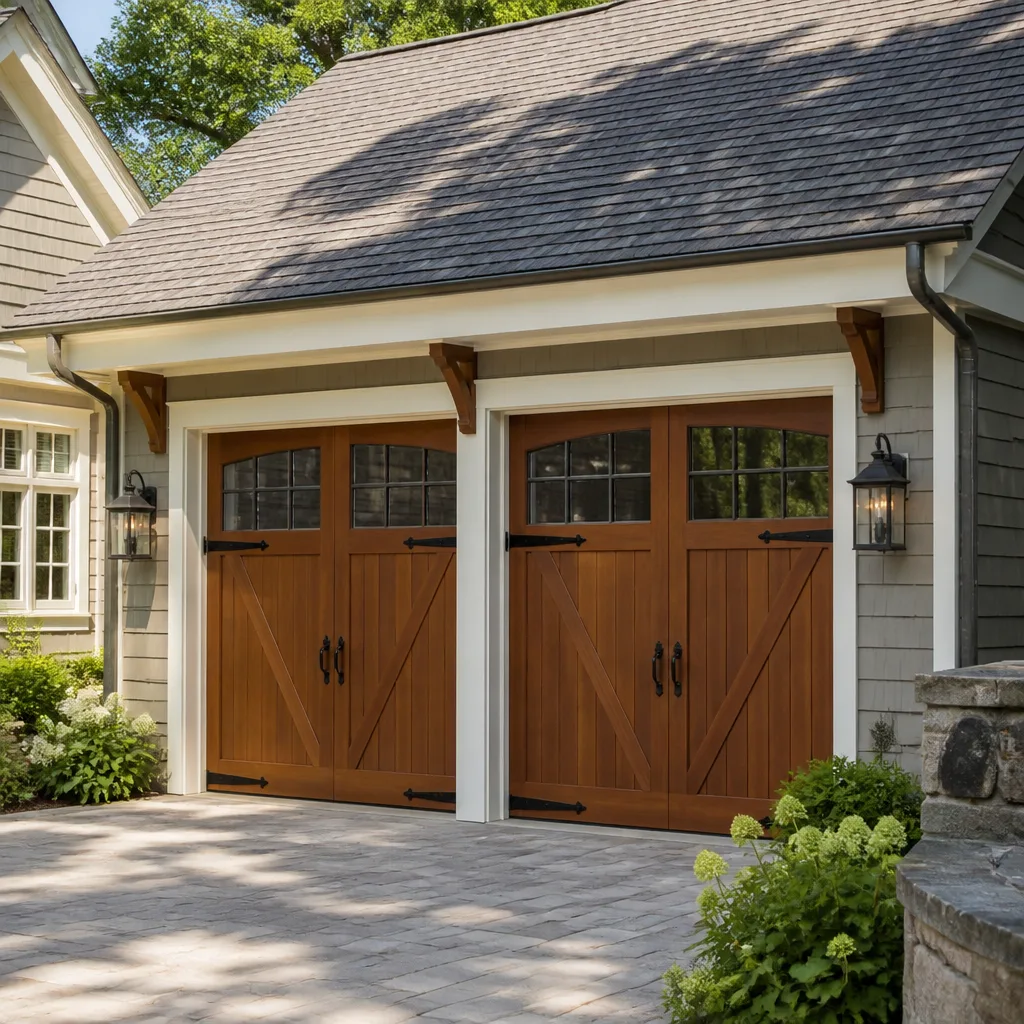 Carriage house
 Modern flush
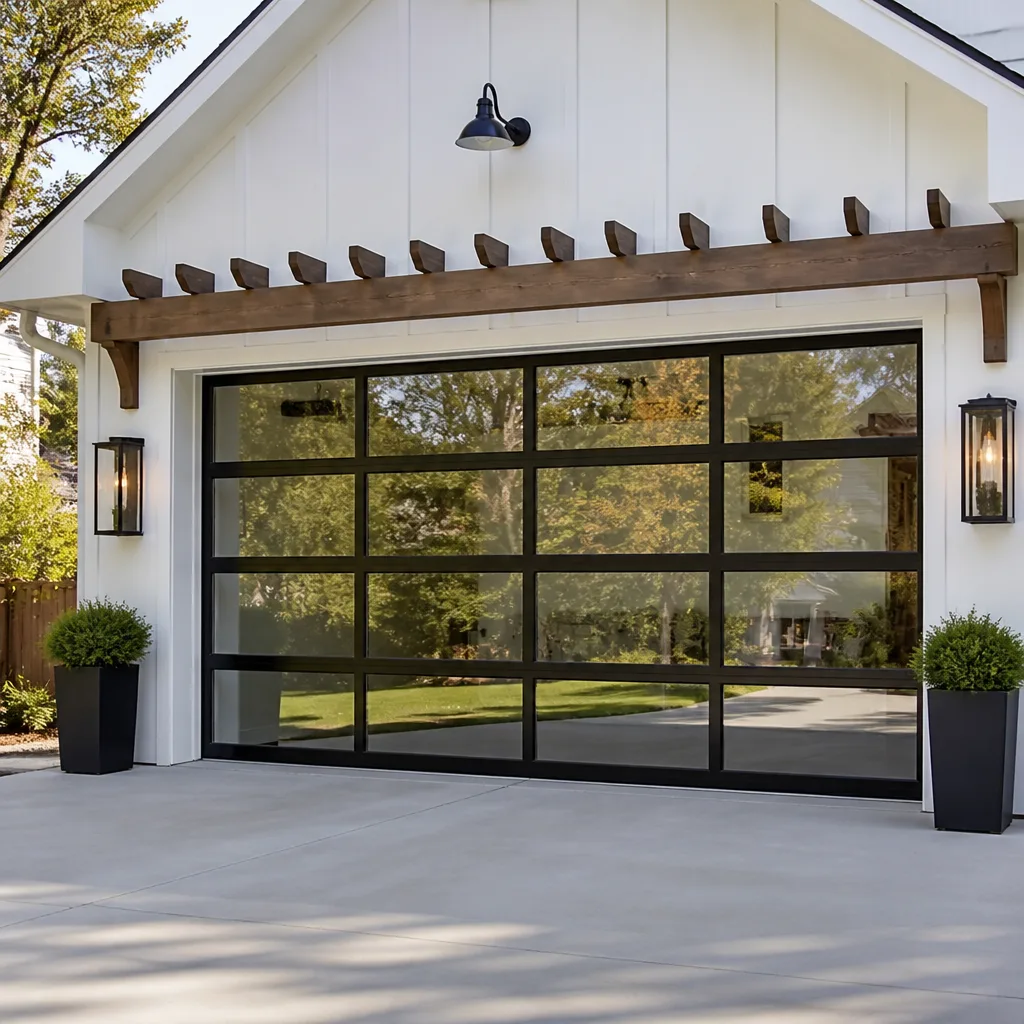 Full-view glass
 LiftMaster openers
 Chamberlain openers
Full 25-point door and opener safety check with every visit - springs, cables, rollers, tracks, and your LiftMaster or Chamberlain opener included
You get a price before we start. It does not change when the pro arrives.
Get your free estimateGarage Door Repair Maintenance Checklist for Wheaton Homeowners
The call we get most often after a run of hard freezes in Wheaton isn’t a snapped spring. It’s an opener that finally gave out after months of dragging a door that had quietly gotten heavy. Bent track, a weather seal stiffened by cold, rollers that stopped turning – each adds friction, and the opener absorbs all of it until the gear or the logic board fails. Springs are dramatic when they break. Openers fail silently. This guide is built around that failure order: what actually breaks first on Wheaton doors, how to spot it early, and where the honest DIY line sits.
Quick Answer
An effective garage door maintenance checklist for Wheaton homes follows failure frequency, not component order. Check the balance test and springs first, then the weather seal and bottom bracket, then rollers and hinges, then the opener’s force and travel settings. Lubricate with a cold-rated product, keep the tracks clean and dry, and call a technician the moment you find a broken spring, frayed cable, or a door that won’t stay level.
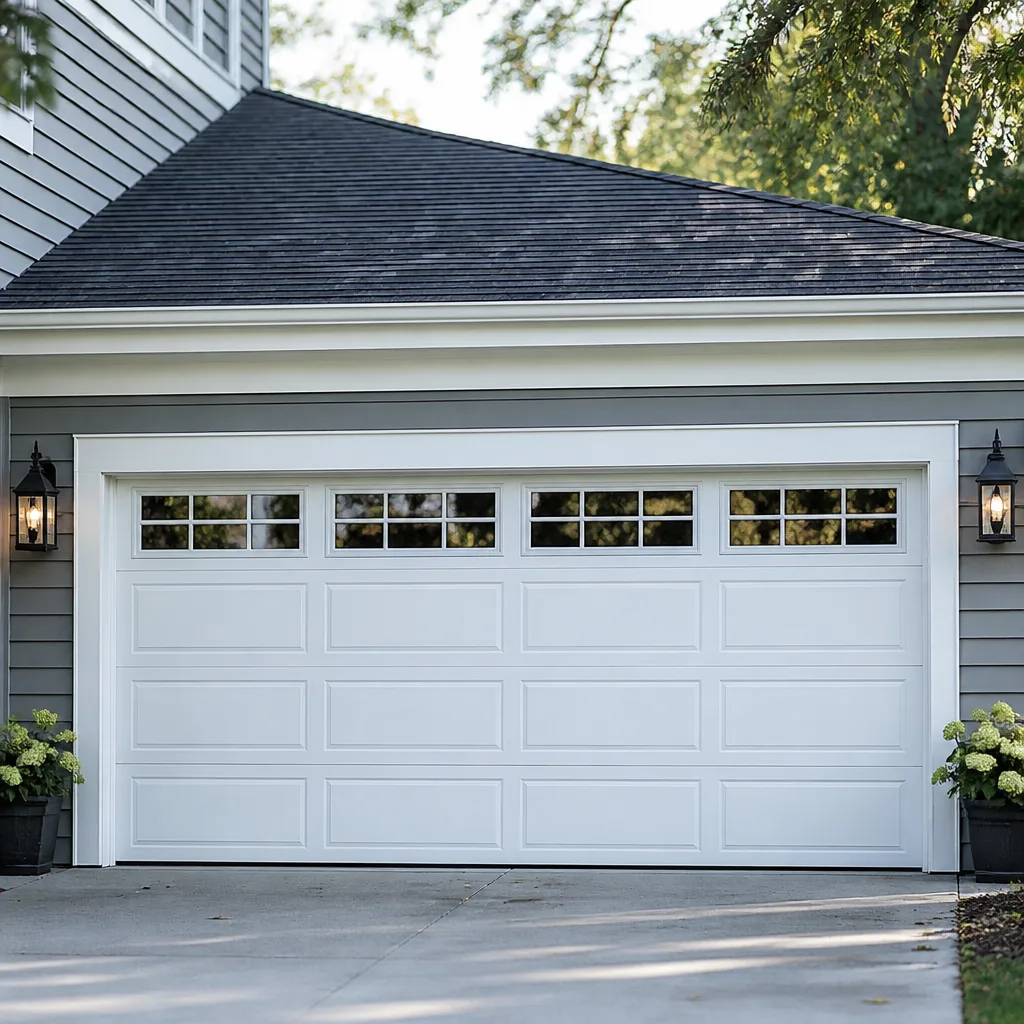
Styles & brands we work with
- Raised-panel steel
- Carriage house
- Modern flush
- Full-view glass
- LiftMaster openers
- Chamberlain openers
Table of Contents
- Why failure order beats a generic checklist
- The 10-second balance test that reveals spring wear
- Weather seals and bottom brackets: the heavy-door trap
- Rollers, hinges and track: friction points in a Midwest climate
- Which lubricants hold up in sub-zero cold, and where each goes
- Opener force, travel and safety-reverse testing
- Checklist items that void your manufacturer warranty if skipped
- A seasonal maintenance schedule for Wheaton
Why Failure Order Beats a Generic Checklist
Most printed checklists start with the opener because it’s the easiest thing to explain. That’s backwards. On a typical Wheaton door, the opener is the last component to fail and the one that fails for a reason it didn’t cause. The motor’s job is to lift a door the springs have already balanced; when spring tension drops, the door gets heavy, and the opener compensates by pulling harder until something in the drive train gives out.
That’s why this checklist is ordered by failure frequency and cost of ignoring. Springs wear first and cost the most to defer. Seals and brackets come next because they add weight slowly enough that nobody notices. Rollers and hinges are the friction layer underneath all of it. The opener comes last because by the time you reach it on the list, a properly maintained door should be putting almost no strain on it at all.
There’s a second reason to order things this way. Wheaton’s climate does a specific kind of damage. Freeze-thaw cycles work on seals and concrete alike, and a door that swells or drags in January may run perfectly by March. A checklist that treats every month the same misses the pattern. Ours front-loads the checks that matter going into winter and the checks that matter coming out.
What the failure sequence looks like
- Springs lose tension – usually over one to three seasons, gradually enough that no single day stands out.
- The door gets heavier – the panel weight hasn’t changed; the lift assist has.
- Seals and brackets add drag – a stiff bottom seal or a misaligned bracket scrapes the whole way up.
- Rollers seize and hinges wear flat – metal-on-metal friction compounds the load.
- The opener forces itself past the problem – until a gear strip, capacitor, or board fails.
Address item one and the rest of the chain never starts. That’s the whole point of this guide. If you’re already past the break point and hearing grinding or straining, our garage door repair service covers the full sequence, and a free estimate tells you where your door sits on it.
The 10-Second Balance Test That Reveals Spring Wear
You can learn more about your springs in ten seconds than a visual inspection will tell you in ten minutes. The balance test checks whether the door’s springs are still carrying the door’s weight, and it costs nothing to run.
How to run it:
- Close the door and pull the opener’s red release cord to disconnect the door from the motor.
- Lift the door by hand to roughly waist height – about halfway open.
- Let go, keeping your hands clear and stepping to the side.
- Watch. A balanced door stays put. A door that drifts down to the floor has weak springs. A door that wants to rise has excessive tension.
If the door falls more than a foot or so, or takes real effort to lift by hand, your springs have lost tension and the opener is doing the work. That’s the moment to stop forcing it and book a spring inspection.
What the test tells you about spring condition
Standard torsion springs on a residential door are rated in cycles, and every open-close counts as one. A door used a few times a day accumulates cycles slowly; a door cycling a dozen times a day wears its springs out in a fraction of the calendar time. The balance test doesn’t measure cycles, but it does tell you whether the spring is still doing its job, and that’s the number that matters.
If the balance test finds a problem, do not attempt to adjust the springs yourself. Torsion springs are under enough tension to cause serious injury, and extension springs can whip if the safety cable isn’t intact. garage door spring repair is a job for someone with the winding bars and the training, and it’s one of the highest-risk repairs in this trade. Our technicians handle it as a dedicated service, not a side note.
One more thing the balance test catches: a door that’s level on one side and sagging on the other. That usually points to a single broken spring on a two-spring setup, or to cable damage. Either way, it’s a call-it-in finding.
Weather Seals and Bottom Brackets: The Heavy-Door Trap
This is the quiet weight gainer. A rubber bottom seal that hardens over the winter, a side seal that’s torn away from the frame, a bottom bracket that’s bent two degrees out of alignment – none of these break anything by themselves. What they do is make the door scrape the whole way up and down, and every scrape is load the opener wasn’t designed to carry.
In Wheaton, the season that exposes this most clearly is the transition from cold to warm. Seals that sat compressed against cold concrete for months hold their stiff shape. Doors that ran fine in summer suddenly sound different in April. That’s the friction layer announcing itself.
What to check on seals and brackets
- Bottom seal: look for cracks, flat spots, and separation from the door’s bottom edge. It should flex when you press it.
- Side seals and trim: check for gaps between the door and the frame, and for seals that have pulled loose.
- Bottom bracket: with the door closed, confirm it sits square to the panel and the cable is seated correctly in the bracket’s slot. Do not loosen the bracket to inspect it – the cable is under tension.
- Panel condition: Clopay and Amarr panels both show edge swelling or splitting at the bottom seam when moisture has been getting in.
Replacing a bottom seal is a reasonable homeowner job on most doors – the material is inexpensive, and a properly sized seal threads into the retainer. Replacing or re-aligning a bottom bracket is not. The bracket holds the lift cable under tension, and a slip is dangerous. If the cable looks frayed, kinked, or has come off its drum, treat it like a broken spring and call for help.
Here’s the connection most people miss. A door that drags because of a stiff seal isn’t just noisy. It’s teaching your opener that this is how much force the door needs. Modern openers learn force limits, and a door that requires more push than it should will eventually exceed what the opener can deliver. Door seals are cheap. Openers aren’t.
Rollers, Hinges and Track: Friction Points in a Midwest Climate
Rollers and hinges are the door’s moving joints, and in a climate with real winters they’re also the parts that collect grit. Road salt tracked onto the garage floor, sand, and dust all find their way into the track. Once in, they grind the roller wheels flat and wear the hinge pivots.
A seized roller is one of the most common findings we come across on Wheaton doors that have never been serviced. The door still opens, so nobody thinks anything’s wrong – but a seized roller is a locked wheel dragging along the track, and it doubles the friction on that side. The track starts to bow. The panel starts to flex. The opener takes the strain.
What to inspect and how
- Rollers: with the door closed, press each roller with a finger. It should spin freely. Nylon rollers should turn smoothly; steel rollers should too, without grinding.
- Hinges: look for worn or elongated pivot holes, rust streaks, and hinge plates that have pulled loose from the panel.
- Track: run a hand along the inside of both vertical tracks – you’re feeling for dents, kinks, and grit. Check that the tracks are plumb and parallel by eye from the side.
- Bolts and fasteners: check hinge bolts and track brackets with a wrench; a loose bracket distorts the track’s alignment over time.
Cleaning the track is straightforward: wipe it with a damp cloth and dry it. Don’t grease the track – grease collects grit and turns the track into sandpaper. Track straightening and roller replacement on a bent or badly worn system is a technician job, especially on a heavier two-car door.
Why Wayne Dalton and Amarr doors deserve a specific look
Different manufacturers use different roller, hinge, and track profiles, and knowing which is which saves guesswork. Wayne Dalton doors in particular use some track and roller configurations that behave differently when they’re out of adjustment. A generic inspection can miss it. We work on Wayne Dalton, Amarr, Clopay, and Genie systems regularly enough that we know where each brand’s weak points tend to show up. That fluency matters most on the parts nobody thinks to check.
Which Lubricants Hold Up in Sub-Zero Cold, and Where Each Goes
This is where most checklists say “lubricate moving parts” and leave you to figure it out. The wrong lubricant is worse than none. A general-purpose oil or a heavy grease applied in October can thicken to the consistency of paste by January, and now the door is dragging on lubricant instead of on bare metal.
The rule: use a cold-rated lubricant that stays fluid below freezing. A white lithium grease formulated for cold weather, or a silicone-based spray, works well. Avoid standard axle grease, motor oil, and anything that gums up. If the label doesn’t mention cold-weather performance, don’t put it on a garage door that has to operate in a Wheaton winter.
What goes where
- Roller bearings and stems: a light cold-rated lubricant, applied sparingly. A drop on the stem, not a coat on the wheel.
- Hinge pivots: a small amount at each pivot point – most hinges have a hole or slot designed for exactly this.
- Torsion spring coils: a light coat along the length of a torsion spring is acceptable on some systems; check your door’s documentation first, since some manufacturers advise against it.
- Track: nothing. Wipe clean and leave it dry.
- Weather seals: a silicone spray or a dedicated seal treatment keeps rubber pliable and extends its life. This is the single most useful lubrication step in a cold climate.
- Opener chain or belt: follow the opener manufacturer’s specification. A chain-drive opener wants a specific chain lubricant; a belt-drive typically wants none.
Keep the application light. Excess lubricant attracts dust, and dust plus cold is a worse combination than dry metal. Two light passes a season, one going into winter and one coming out, is more than enough for a residential door.
For a Genie or LiftMaster opener that’s already struggling, the problem is rarely solved by lubrication alone. Our garage door opener repair service diagnoses the drive train alongside the door, because a “weak” opener is usually a door problem in disguise.
Opener Force, Travel and Safety-Reverse Testing
Openers are the component most likely to fail because of a door problem, and the most likely to be blamed for one. Two settings determine whether your opener is helping or hiding the issue: force and travel.
Force settings control how much push the opener applies before it gives up. On most modern openers, including LiftMaster and Chamberlain units, force limits learn automatically during setup, but they can still be adjusted. If your opener’s force limit has been cranked up to compensate for a heavy door, the door itself is the real problem.
Travel settings control where the door stops at open and closed. If the closed position is too high, the seal doesn’t compress and weather gets in. If it’s too low, the opener drives the door into the floor, and that pressure damages the seal, the panel, and eventually the opener’s gear.
Test the safety reverse feature
Every opener manufactured since 1993 has two safety systems, and both deserve a monthly check:
- Mechanical reverse: with the door closing, lay a piece of wood or a roll of paper towels flat on the floor in the door’s path. The door should reverse on contact.
- Photo-eye test: with the door closing, wave a hand or a stick through the invisible beam between the two sensors mounted near the floor. The door should reverse immediately.
If the door doesn’t reverse on either test, stop using the opener until it’s fixed. That’s a safety-critical failure, not a nuisance. Photo-eye lenses get dusty, misaligned, or blocked by stored items, and a simple cleaning or repositioning solves most of these – but a door that still won’t reverse needs an opener technician.
When it’s the opener, not the door
Check this before calling: disconnect the door from the opener using the release cord and run the door by hand. If it moves smoothly by hand but struggles under power, the problem is in the opener. If it drags or binds by hand too, the problem is the door, and a new opener won’t fix it. That one check saves an expensive misdiagnosis.
Checklist Items That Void Your Manufacturer Warranty If Skipped
Garage door warranties are narrower than most homeowners expect, and some of the most common neglect items fall outside coverage. The exact terms vary by manufacturer and product line, but a few patterns repeat across the industry. The clearest example is spring coverage – many manufacturers exclude springs from warranty entirely or limit coverage substantially, treating them as a wear item. That’s not a reason to plant a claim; it’s a reason to keep the rest of the system in condition, because a damaged panel or failed opener caused by neglect isn’t covered either.
The general principle: warranties cover defects in materials and workmanship, not damage from what the manual calls improper maintenance, misapplication, or installation error. Translation – if a technician finds a bent track caused by a door that was forced open for months, that’s not a defect claim.
The items worth documenting
- Panel condition: dented, cracked, or water-damaged panels are often excluded. Catching a small crack early is cheaper than a panel replacement.
- Springs: frequently excluded from long-term coverage. A worn spring is maintenance, not a warranty event.
- Track and hardware alignment: a bent track from an impact or from running a door with a failed spring is usually excluded.
- Opener electronics: water intrusion and power surges are commonly excluded, so a properly sealed garage and a surge protector are worth the small effort.
- Professional installation: some warranties require professional installation to activate, and DIY installation may void certain coverages. Check the paperwork on your specific product.
Keep a record of your service dates and what was done. If a warranty question ever comes up, that record is what gets a claim reviewed rather than dismissed. When in doubt about your specific door’s terms, the warranty document that came with it is the authority – not an assumption based on the brand name. Clopay, Amarr, and Wayne Dalton all publish their terms, and they differ.
A Seasonal Maintenance Schedule for Wheaton
Wheaton’s climate rewards a two-a-year rhythm more than a quarterly one. A service pass going into winter prepares the door for freeze-thaw and heavy use; a pass coming out of winter catches the damage the cold did.
Late fall: the winter-prep pass
- Run the balance test and note the result.
- Please treat the weather seal with a silicone product so it stays pliable through the cold.
- Lubricate rollers, hinges, and spring coils with a cold-rated product.
- Wipe the tracks clean and dry, and check alignment.
- Test the safety reverse and photo-eye systems.
- Tighten all hinge and bracket bolts.
- Clear the garage floor of anything that could block the door’s path when snow and sand get tracked in.
Early spring: the recovery pass
- Inspect the bottom seal and side seals for cracking or separation.
- Re-run the balance test; a door that was fine in October but is heavy in April points to spring wear from the cold season.
- Wipe the tracks again – winter grit is the biggest cause of seized rollers.
- Check for rust on the hinges, brackets, and track, especially at the floor level.
- Re-lubricate with a light application.
- Re-test the opener’s force and travel settings, since a door that got slightly heavier over winter may need an adjustment or a spring repair.
Two thoughtful passes a year cost less than one emergency repair and take a fraction of the time. Where the line sits between doing it yourself and calling a technician is different for each step – which is where the next two sections come in.
The honest DIY vs. call-a-tech line
- Wipe tracks clean and dry: DIY. Easy and important.
- Lubricate rollers, hinges, and seals: DIY, using a cold-rated product.
- Tighten bolts: DIY with a wrench, gently.
- Run the balance test: DIY – you’re only observing, not adjusting.
- Test the safety reverse and photo-eye: DIY and should be done monthly.
- Replace a bottom seal: DIY on most doors, if you’re comfortable with the specific retainer style.
- Adjust opener force and travel: borderline – consult the manual, and call if the settings don’t hold.
- Replace rollers and hinges: call a technician on heavier doors; simple on light single-car doors for the confident.
- Replace a spring, adjust spring tension, or touch the bottom bracket or cables: always call a technician. These carry genuine injury risk.
- Straighten or replace a bent track: call a technician; forcing a track usually makes it worse.
Common Mistakes to Avoid
- Treating the opener as the culprit. Two sentences: A noisy or straining opener usually points to a door problem, not opener failure. Disconnect the door and run it by hand before replacing anything electrical.
- Greasing the tracks. Two sentences: Track grease turns into a grit magnet, especially after a Wheaton winter tracks sand and salt into the garage. Clean tracks, not lubricated ones, are what a roller wants.
- Ignoring the balance test for a season. Two sentences: A door that passed the test in October can fail it by February after a run of hard freezes. Testing takes ten seconds and it’s the single best early warning you have.
- Using warm-weather lubricants in winter. Two sentences: A standard oil or heavy grease that thickens below freezing adds drag instead of removing it. Check that the product you’re using is cold-rated before the first freeze.
- Adjusting the tension on a torsion spring yourself. Two sentences: A torsion spring is under enough tension to cause serious injury if it slips. This is the one checklist item that should never become a DIY project.
- Forcing a door that has stopped moving freely. Two sentences: If a door stops partway or binds, the opener will keep applying force until something breaks – usually something more expensive. Stop using it and get it inspected.
- Skipping the safety-reverse test. Two sentences: It’s the easiest test on this list, and the one most likely to be skipped for months. A door that won’t reverse on contact is a hazard to anyone in the path, including a child or a pet.
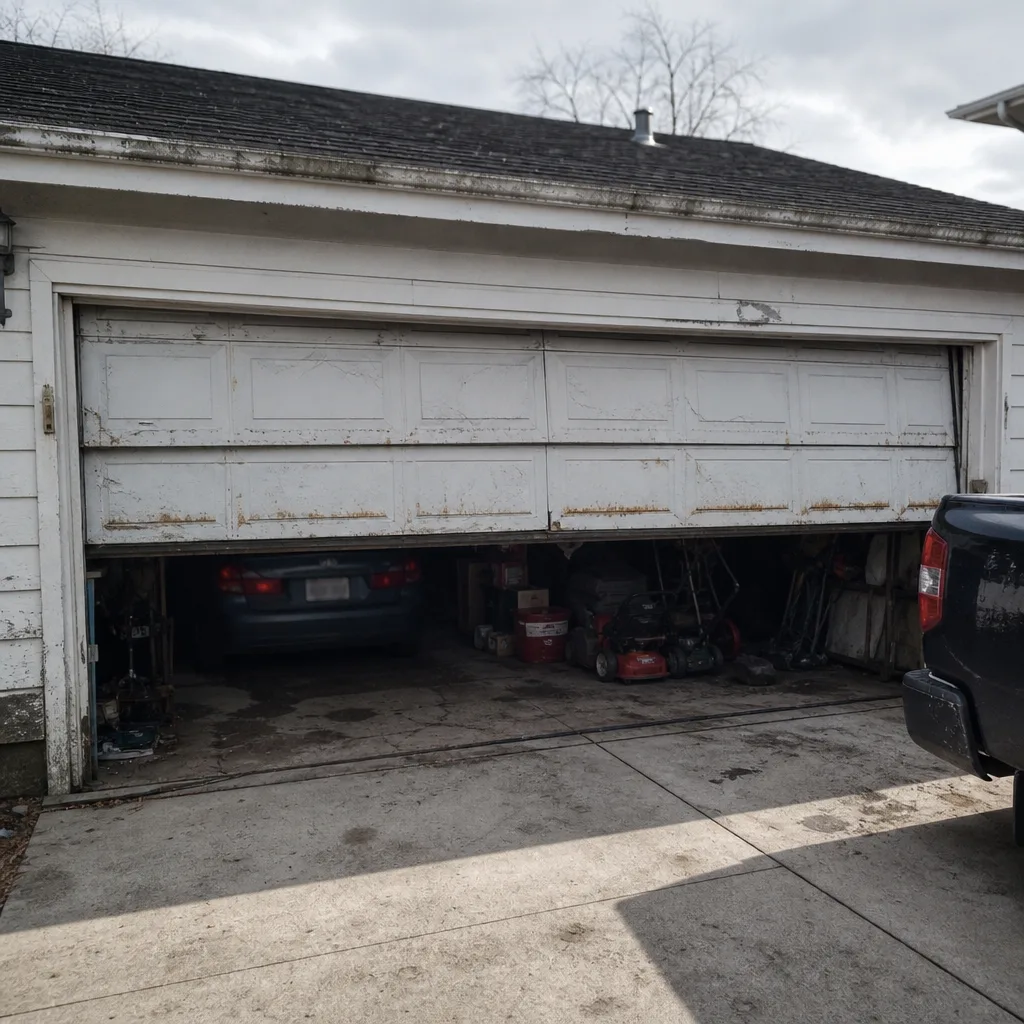
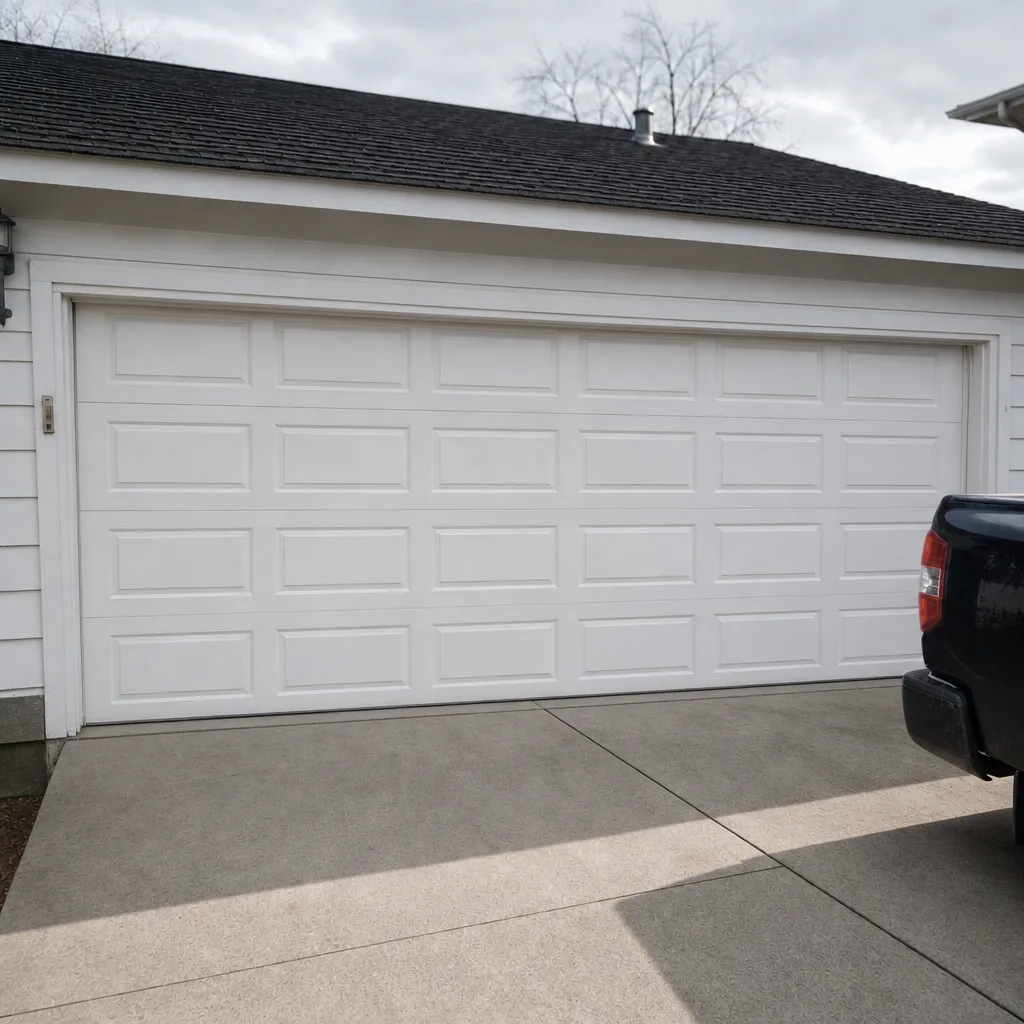
See the difference
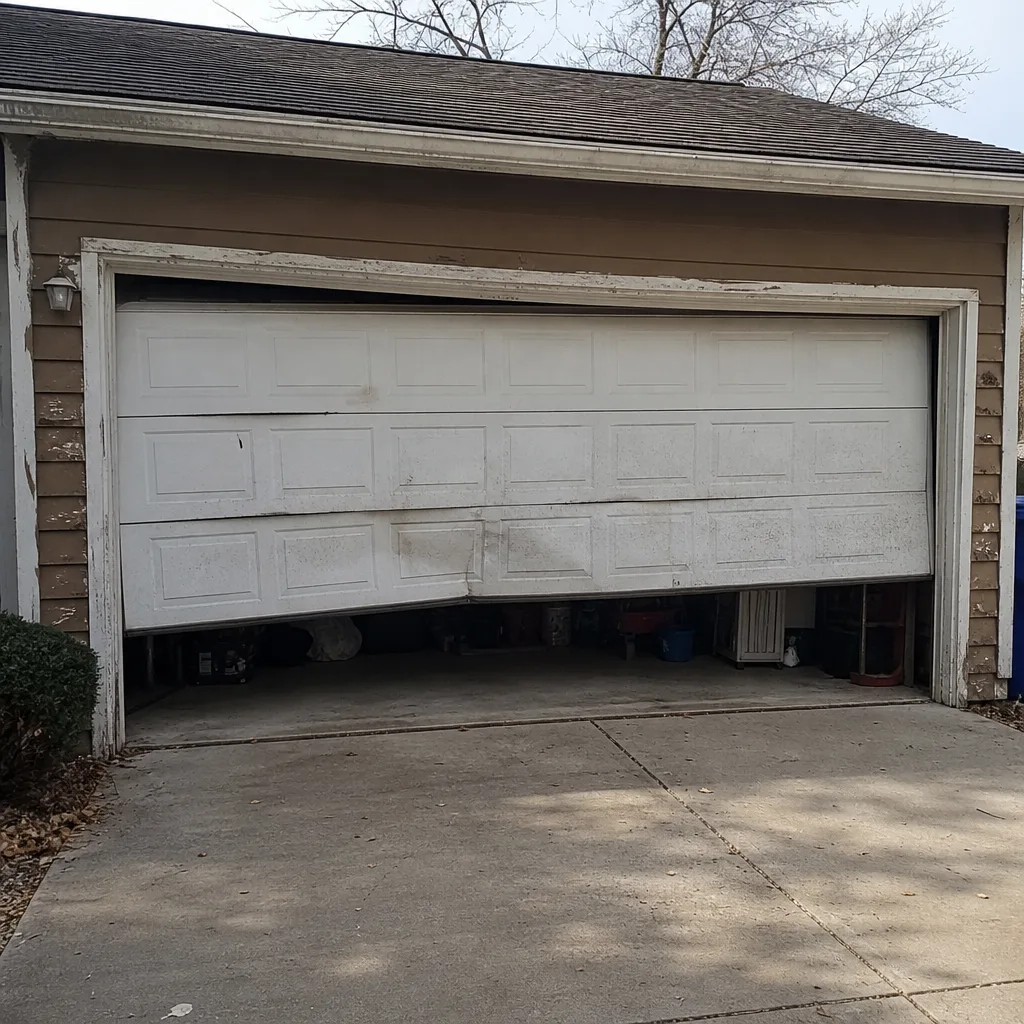 Before
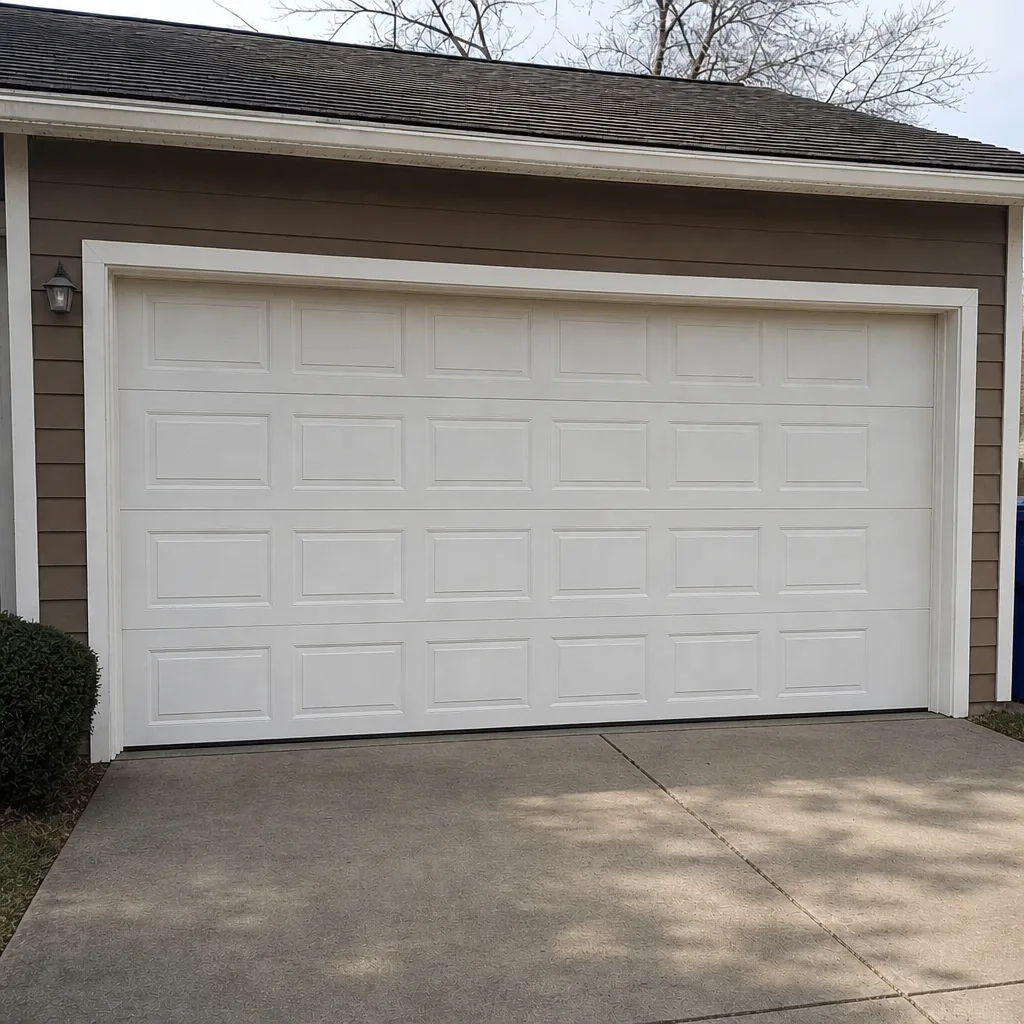 After
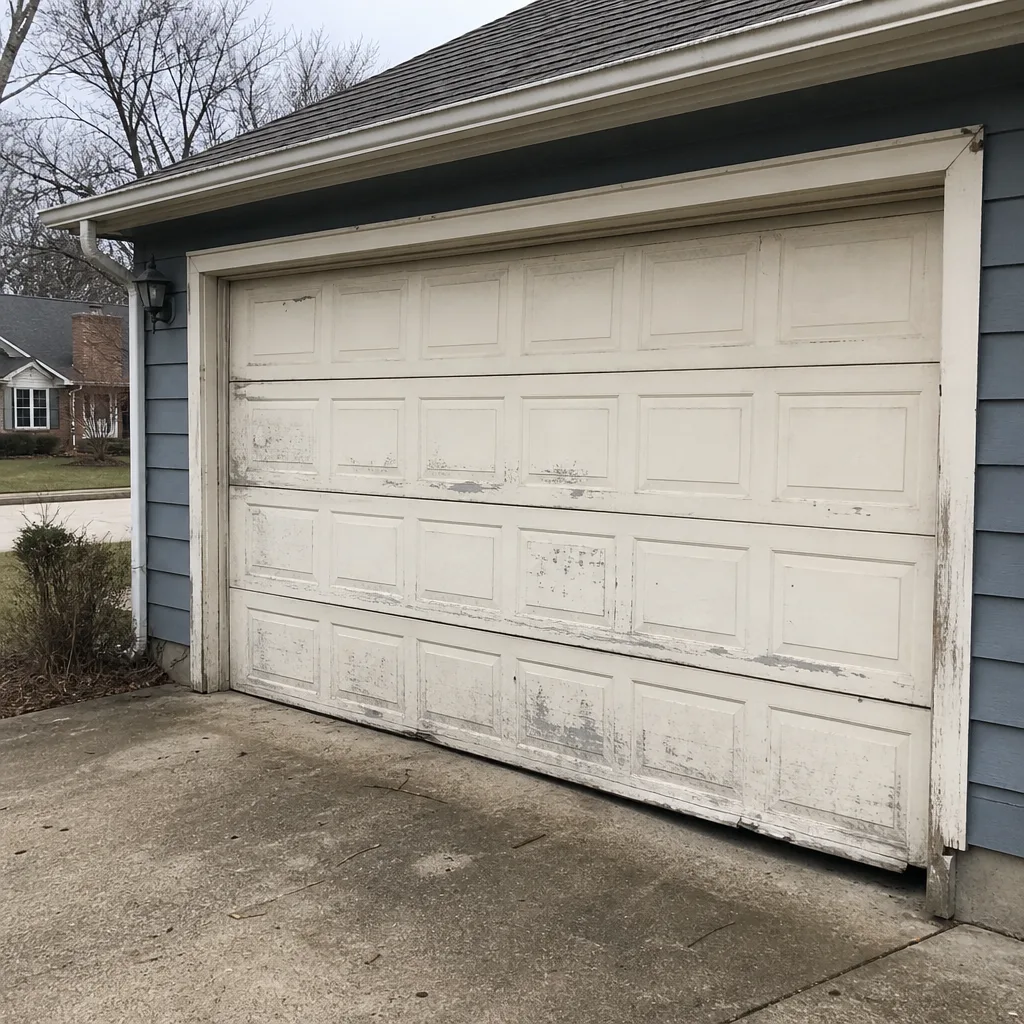 Before
 After
 Before
 After
When to Call a Professional
Call a professional the moment you find a broken spring, a frayed or kinked cable, a door that won’t stay level, or a bottom bracket that has moved. Those are injury-risk repairs and no amount of maintenance advice makes them safe to handle. Call too if your door has failed the balance test consistently, if the track is dented or bent, if the opener refuses to reverse on the safety test, or if the door binds or drags by hand after release. Emergency situations – a door stuck open overnight, a car trapped inside – fall into a separate category entirely.
Wheaton Garage Door Repair Pros offers free estimates in Wheaton – call (844) 713-9631. Our technicians have up to 9 years of experience and work on the brands most Wheaton homes actually have, including LiftMaster, Chamberlain, Genie, Clopay, Amarr, Wayne Dalton, Craftsman, and Raynor.
Frequently Asked Questions
Twice a year is the practical rhythm in Wheaton – once before winter and once after. The winter-prep pass readies the door for freeze-thaw and heavy use, and the spring pass catches whatever the cold season left behind. Doors used heavily, or those with older springs, benefit from a professional inspection once a year on top of your own checks.
A door that no longer stays put at halfway in the balance test is the clearest early sign of spring wear. If you release the door at waist height and it drifts down, the springs have lost tension and the opener is compensating. Catching it at that stage is much less costly than waiting for a spring to break. Call (844) 713-9631 for a spring inspection – estimates are free.
You can lubricate the door yourself, as long as you use a cold-rated product and apply it sparingly. Roller stems, hinge pivots, and weather seals are all fair game for a homeowner. Skip the tracks entirely and leave spring coil lubrication to your door’s manual, since some manufacturers advise against it.
Cold weather thickens lubricants, stiffens seals, and slightly contracts metal, all of which add drag to the door. If your opener strains noticeably in winter, the door’s balance and seal condition are the first things to check. A properly balanced door with a pliable seal should run almost the same in January as in June. Call (844) 713-9631 if the strain doesn’t clear once temperatures moderate.
It can, depending on the manufacturer and the specific coverage. Most warranties exclude damage caused by improper maintenance or by forcing a door that needed repair, and springs are frequently treated as wear items outside long-term coverage. The warranty document that came with your door is the authority on your specific terms. A professional inspection gives you a paper trail in case a claim ever comes up.
A typical tune-up involving lubrication, balance testing, and force and travel adjustment usually runs in the range of a routine service call, and spring replacement is quoted separately since the price depends on spring type and door size. We quote and agree the price before any work starts, and a written estimate sets the final number. Call (844) 713-9631 for a free estimate.
The Bottom Line
Maintenance isn’t a checklist to complete; it’s an ordered inspection that follows what actually breaks first on a Wheaton door. Springs lose tension, the door gets heavy, seals and brackets add drag, and the opener takes the blame for all of it. Run the balance test monthly, treat seals with silicone before winter, lubricate with a cold-rated product, and never touch a torsion spring or a bottom bracket yourself. Where you’re unsure, that’s exactly where an expert’s ten minutes saves you a costly repair and a stressful emergency.
When it has to work, we’re the call. Whether it’s a LiftMaster opener or a Clopay panel, our team can help. Wheaton Garage Door Repair Pros offers repair, spring replacement, opener service, and complete installation, with emergency service available when waiting isn’t an option. Call (844) 713-9631 for a free estimate.
Written by the team at Wheaton Garage Door Repair Pros.